Pillow Top background Tutorial
With a little Bling - of course

You will need:
4 1/2" x 6" card stock
1/2" x 8" HD Card Stock
pencil - I used marker in order to demonstrate clearly
stamp pad - I used marina Mist from StampIn Up
Sponge
Liquid Pearl


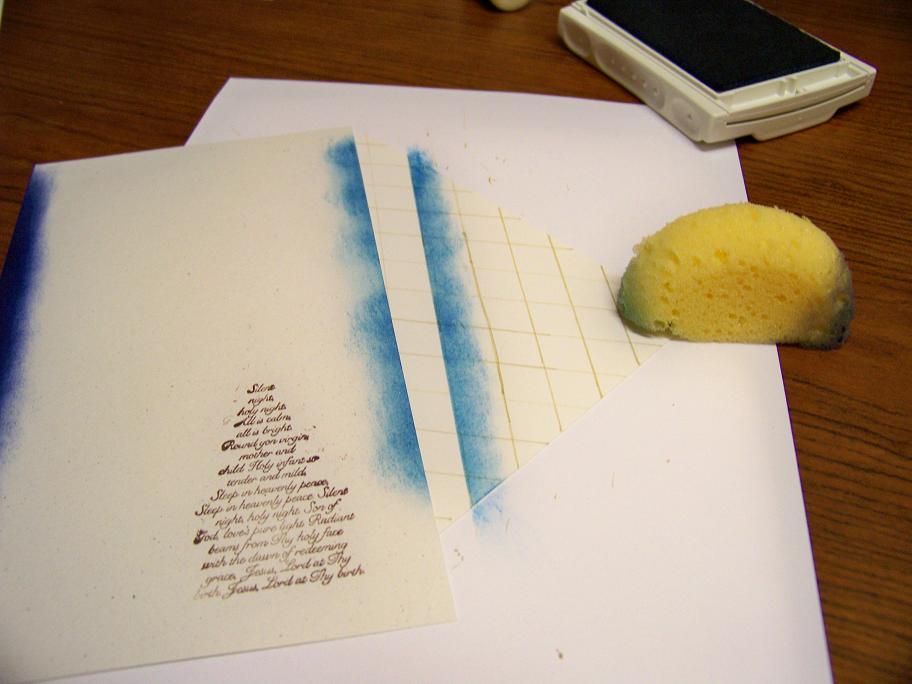
Using pencil mark from corner to corner using 1/2" guideline. Move guideline back 1/2" and mark next line until the card is marked as the next photo shows

Next begin on the opposite corners and mark the card stock as below.

Mine looks a little messy because I am using the marker - all of the edges will be covered in the final background. When using a pencil they will not be as bold and you can erase if you mess up.

Continue to move your scrap paper to each line and add the color - make sure you continue in the same pattern the entire way across.

Continue until all of the lines are colored as above. Next turn your card stock the opposite direction and using your scrap paper and guidelines to color as below


For extra effect I used the edge of the stamp pad to add a few extra lines - This is for more advanced stampers. For beginners skip this step

Using the liquid Pearls apply a dot on each crossing point as shown below - The additional lines I added make it a little difficult for me to line up the pearl dots


Trim and decorate as desired - I used Stamping Up Stamp set Christmas Deer
I hope you enjoyed the tutorial - here are a few more using the same technique with different colors


No comments:
Post a Comment